Hamsterscaping: natural design for hamsters (golden hamster & dwarf hamster)


- Voor 17 uur besteld, dezelfde dag verzonden!
- Specialist sinds 2011
- Delivery from our own stock

- Voor 17 uur besteld, dezelfde dag verzonden!
- Specialist sinds 2011
- Delivery from our own stock


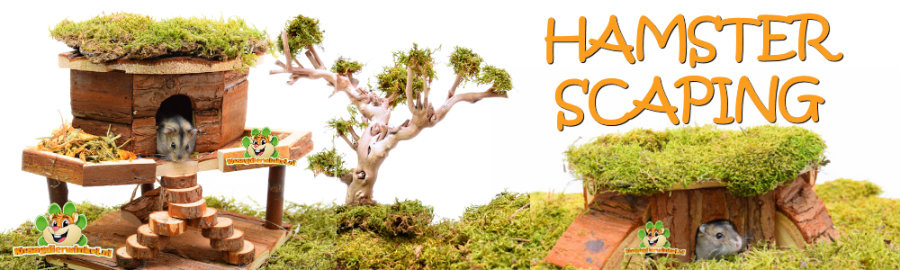
Hamsterscaping: natural design for your hamster (hamster cage & terrarium)
 Hamsterscaping is the natural and clever way to furnish a hamster cage or terrarium as a mini-landscape: with a deep digging layer, safe hiding places, a sand bath, and foraging areas. It not only looks great, but above all, it makes the habitat natural for your hamster: digging, hiding, gathering, and foraging as it naturally does.
At DRD Rodent Shop®, we help you choose the right rodent products that work in practice. From tunnel-resistant bedding to the right sizes for houses and exercise wheels . Specialists since 2011 – with a focus on well-being, safety, and a habitat that's easy to maintain.
Getting started with hamster scaping: here's how to do it smartly
The most beautiful hamster habitat doesn't start with "more decor," but with a solid foundation. First, choose a suitable enclosure , then build the digging layer , and finally create zones with houses , tunnels , a sand bath , and foraging areas.
Whether you want a tranquil "desert look" or a more "forest" scape with moss and cork, the basics remain the same. If the foundation is right, your hamster will naturally do more: dig, drag, hoard, and run trails.
Also view our range of Hamsterscaping Moss .
Think in zones: this is how your hamster cage becomes logical
A hamster feels most comfortable in an enclosure that's "full" and organized. You can achieve this by creating zones:
- Resting zone (nest/sleeping): main house + nesting material, preferably sheltered.
- Digging zone : the deepest part of the ground cover, this is where tunnels and storage areas are created.
- Sand bath zone : a permanent place for bathing (and often also as a toilet area).
- Foraging zone : scatter feeding, snack areas, search and play materials.
Tip: Create routes between areas with natural tunnels and shelters. This creates peace and quiet, as your hamster will find shelter to move around.
Excavation layer & ground cover: the difference between "nice" and "working"
Hamster scaping depends entirely on the digging layer. Many hamsters love to dig, but they'll stop if the tunnels collapse immediately. Therefore, it's best to choose substrate that is tunnel-resistant and comfortable to the touch. See: Hamster substrate .
How deep?
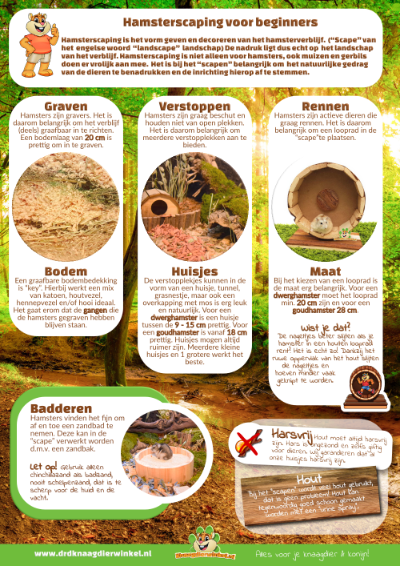
A common guideline for hamster scaping is a 20–30 cm digging layer (deeper is fine if your enclosure allows it). More important than the number: can your hamster create tunnels that stay put without you having to "push" everything down?
Construction in 4 steps
- Base layer : Fill the enclosure with a comfortable main bedding.
- Texture : Add a second texture (where needed) for grip and strength.
- Zone depth : make one corner really deep (digging zone) and keep the resting zone a little more stable/compact.
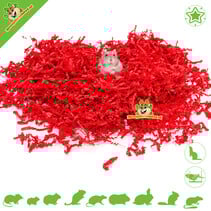
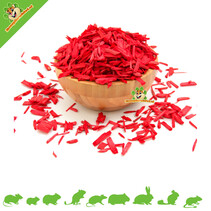
- Nesting material : Always add enough nesting material so your hamster can build a warm nest.
Extra fun (and functional): mix or layer ground coverings. This creates variety in texture and allows you to visualize zones. For inspiration, you can also look at tags like wood fiber and paper .
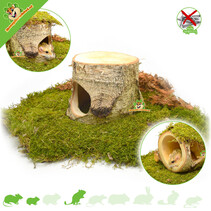
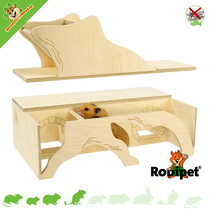
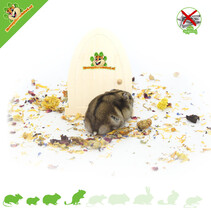
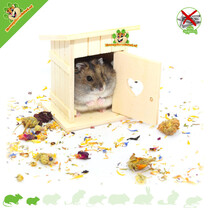
Houses & shelters: why multiple places work better
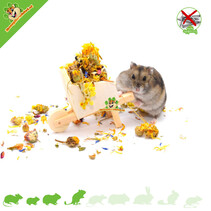
Hamsters don't like open spaces. They're most relaxed when they have a choice of multiple hiding places. Consider a main house (e.g., a multi-room house) plus additional hiding routes and "stopovers." See: Hamster Houses .
- Multi-room houses : popular because hamsters often create a “bedroom” and “pantry.”
- Ceramics/terracotta : nice as a cool shelter (also in warmer periods).
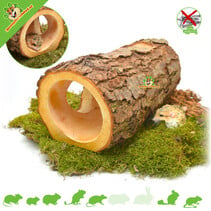
- Cork/tree trunk : ideal as a route and shelter at the same time.
When choosing a cage, consider the size (especially for golden hamsters). More space is almost always acceptable – the cage should remain practical: hamsters can enter, turn, build a nest, and store supplies.
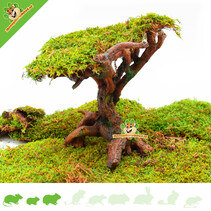
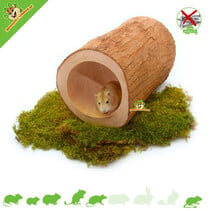
Tunnels, routes & natural materials: an atmosphere that really makes a difference
In hamster scaping, natural materials aren't just "decorative." They help you build routes, define zones, and safely fill the enclosure. Useful starting points: cork tunnels , tree trunk tunnels , vines , and moss .
Tip: Use "under and around" techniques. So: a tunnel under a canopy, a route along a cork piece, and a hiding place behind a house. This way, your hamster can move around without feeling "out in the open."
Sand bath: permanent scape zone for coat care
A sand bath is a permanent feature in many hamster scaping setups. Ideally, create a single, well-defined area (this also helps with your maintenance routine). See: Hamster sand & sand baths .
Practical: You can sift the sand occasionally (depending on use). A sieve is useful for removing small debris.
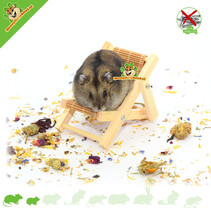
An exercise wheel in a hamster scape: size and stability
An exercise wheel is an important part of many hamsters' daily routines. In hamster scaping, placement is especially important: a deep digging layer can sink, so ensure a stable base. See: Hamster exercise wheels .
- Dwarf hamster : a minimum of 20 cm is often recommended.
- Golden hamster (Syrian hamster) : often at least 28 cm for comfortable running.
Many people find a wooden wheel attractive in a natural setting. It looks great and can be pleasant to the touch. See also: wooden exercise wheels .
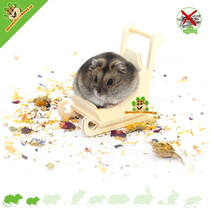
Foraging: The simplest upgrade with the biggest effect
Want your hamster to be "more hamster"? Let them forage. Instead of putting everything in one bowl, you can scatter (some of) the food in the digging layer, under a bridge, or among natural features. This encourages foraging and instantly makes your scape more interesting. See: Play & Foraging .
Handy additions to your scape: gnawing material (natural nibbling) and herbs & seeds (tasty to sprinkle).
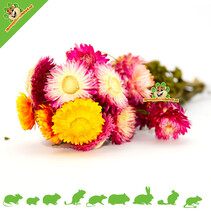
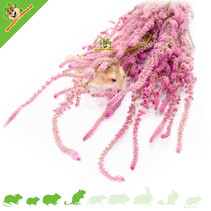
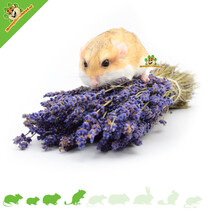
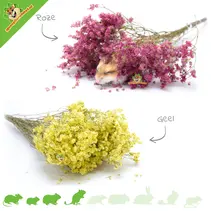
(Fresh) plants in hamster scaping: atmosphere and distraction
Fresh plants instantly give a scape a natural look. Use them as decor, as greenery for nibbling, or as a sniffing corner. Ideally, choose plants intended for small animals and place them securely to prevent too much soil from seeping into the enclosure. See: Fresh hamster plants .
Maintenance & spot cleaning: how to keep your hamster scape fresh
The great thing about hamster scaping is that you usually don't have to replace "everything" all the time. You work in zones and do primarily spot cleaning : cleaning locally where necessary.
Hamster Scaping Safety: You Really Want to Get This Right
A scape is only successful if it's safe. With a few simple choices, you can prevent risks and ensure your design remains stable in the long run.
Checklist: hamsterscaping basic set
Hamsterscaping manual
Want a practical step-by-step guide to get you started right away? Check out our manual – handy if you're building your first hamster enclosure or upgrading an existing one.
 Click on the image to open the manual
Frequently Asked Questions about Hamster Scaping
What exactly is hamsterscaping?
Hamsterscaping is the natural design of a hamster cage or terrarium as a mini-landscape with zones: digging layer, hiding places, sand bath, and foraging areas.
What substrate is suitable for hamster scaping?
Choose substrate that supports digging and helps tunnels "stand." In practice, a combination of structure and volume often works best. See: hamster substrate .
How deep should the excavation layer be?
A commonly used guideline is 20–30 cm, but the most important thing is that the soil allows for tunnels and does not collapse immediately.
Which materials are suitable for a natural hamster scape?
Cork, tree trunk tunnels, grapevine, and hamster-safe moss are popular choices for routes, hiding places, and finishing touches. Start with: cork tunnels and grapevine .
How many hiding places does a hamster need?
A main house plus several hiding places usually works best. This way, your hamster can choose where to rest and how to move around. See: hamster houses .
Can hamster scaping also be done in a glass cage/terrarium?
Yes, that's right. In a glass enclosure, you can often easily add deep ground cover and create zones. See: hamster cages & terrariums .
What is spot cleaning?
Spot cleaning is localized cleaning: removing wet spots, checking storage areas, maintaining the sand bath/walking wheel, and replacing only what is absolutely necessary.
