Hamsterscaping IKEA & DIY – safety checklist (ventilation, edges, stability)
 Many people search for "hamsterscaping IKEA" because they want DIY solutions: a box, platform, lid, or a DIY setup. That's perfectly fine, as long as you always prioritize safety and ventilation over looks. This page is for information . Prefer to start with a proven foundation? See: Hamsterscaping for Beginners .
Quick to:
✔ Ventilation is key
Without good air circulation, a DIY container is not a good base, no matter how beautiful it is.
✔ Finishing must be safe
No sharp edges, no loose parts, no places for things to get caught.
✔ Stable and maintainable
DIY is only useful if you can do a spot clean without taking the entire interior apart.
Why DIY is popular (and where it goes wrong)
- DIY seems cheap and flexible (lay out yourself, measure yourself).
- But things often go wrong on three points: ventilation , finishing and stability .
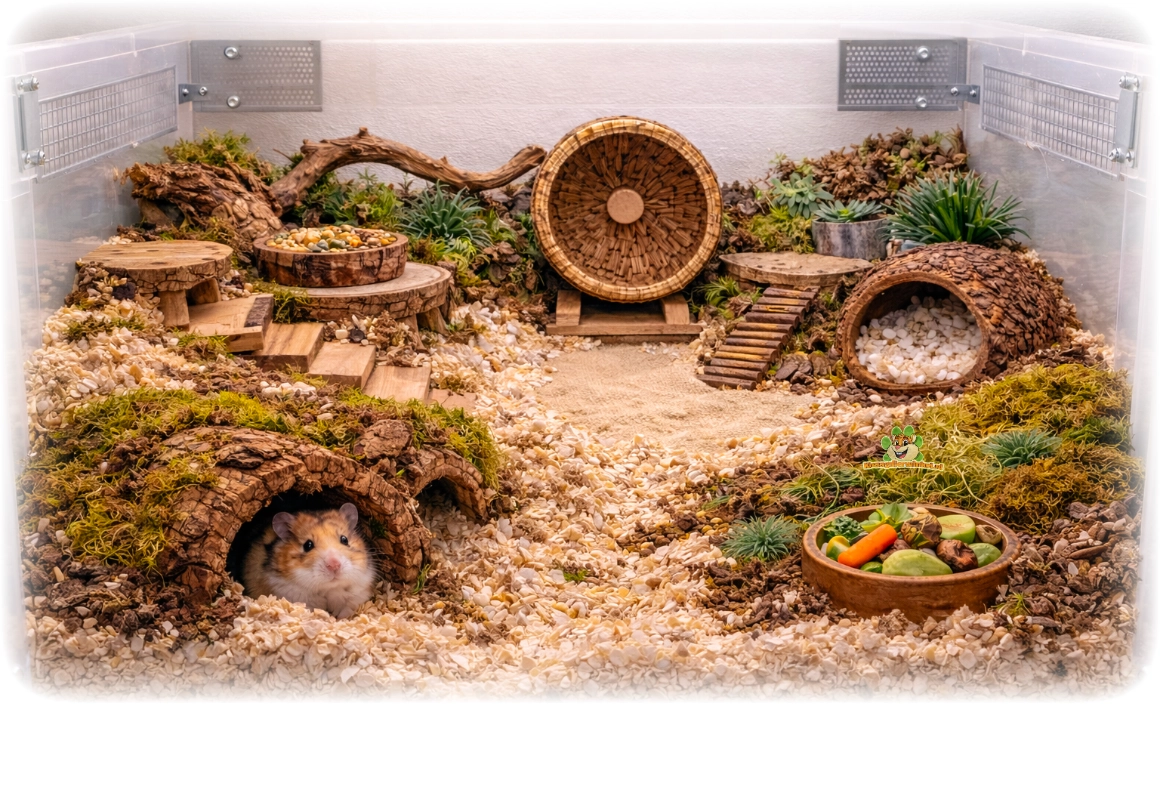
DIY checklist (IKEA/box/plateau/lid)
- ✔ Ventilation: spacious and cleverly distributed (not one small grille), but one above and at the front or above and behind or on both sides (one higher, one lower)
- ✔ Edges: smooth finish, no sharp cutting edges or burrs
- ✔ Stability: heavy parts cannot slide or tilt
- ✔ Height: no risky "free fall" areas; work with safe transitions
- ✔ Maintenance: fixed zones (sand bath) and spot cleaning possible
- ✔ Placement: not in direct sunlight, not next to a heat source
- ✔ Test: If anything wobbles, it's not "finished" yet.
You can find supplies to get started safely in: Hamsterscaping shop
Materials & finishing (practical)
- Choose strong, stable materials that don't leave a mark or have a strong odor.
- Always finish edges smoothly (sand/finish) so that nothing can cut or snag.
- Avoid loose parts (think of edges, tape, fragile connections).
- Maintainable building : design zones so that you can reach the sand bath and “busy spots” without demolition.
Common DIY mistakes
- Insufficient ventilation (especially with closed lids).
- Sharp cutting edges or awkward openings.
- Unstable stacks of heavy set pieces.
- Everything in one place (no zones): excavation layer, sand and running wheel mixed together → messy and difficult to maintain.
Smart alternatives (without the hassle)
Want the "hamsterscaping effect" without the DIY risks? Then start with the basics in our beginner's guide and choose a suitable enclosure via: Hamster Cage Selection Guide .
Prefer to do it all at once? Check out: Hamster packages or help with the setup .
FAQ – hamsterscaping IKEA & DIY
What do people mean by “hamsterscaping IKEA”?
It usually involves DIY projects involving boxes, trays, and lids. It can work, but ventilation and a safe finish are crucial.
Can I use a box as a hamster enclosure?
Only if ventilation is truly adequate, edges are securely finished, and the layout is stable. Use the checklist on this page.
What is the most important thing in DIY?
Ventilation, safe edges, stability and maintainability (spot clean + fixed zones).
Back to the Start Guide: Hamsterscaping for Beginners
